Wednesday, July 27, 2011

Stormy’s New Collar


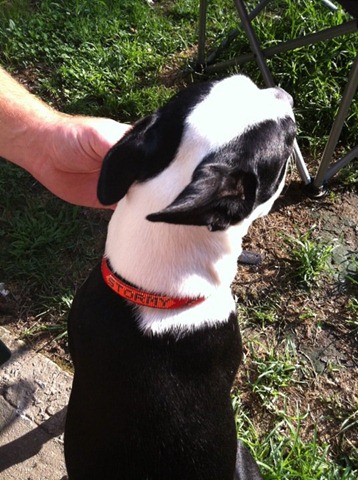
I went to visit my friends last evening and gave them Stormy’s new collar.  Doug liked it so much, he put it on her right away.

I, like a dumby, forgot to take my camera along.  So Jamie was kind enough to send me some photos to share with you.

216773_2208409806440_1133286875_2652357_331169_n

251725_2208408566409_1133286875_2652356_7764585_n

Oh, and by the way, I got plenty of kisses, and got to do lots of petting with the sweet little girl.

Have a great day,everyone.

Blessings,

Beth

Tuesday, July 26, 2011

Update!

Life has been a bit crazy at my house this week.  My 8-month-old Golden Retriever, Tanner, has had an upset tummy.  My 18-year-old daughter, Meg, has also been dealing with some dehydration and exhaustion.  And my husband has been dealing with some ongoing health issues.  And I have been busy taking care of all of them.

It hasn’t left a lot of time for beading.  But I wanted to do a “thank you” gift for a friend who watched Tanner last monday so that I could go to an amusement park with my family. 

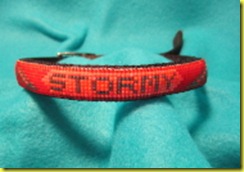
My friend, Doug, has a Boston Terrier pup.  She is a bit younger than Tanner, but not much.  I looked her up on my “collar sizes chart” and they suggested a 15 to 18 inch collar.  So I started there.

stormy

I knew that I wanted to put her name on it too.  And this is what I came up with for that part.

For a motif, I chose:

stormy2

Lightening Bolts

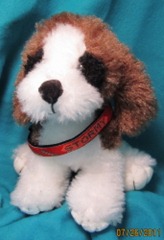
And for my pattern model:

stormy3

I thought this little guy looked cute.

I named the pattern “Stormy – A Lightening Bolt Dog Collar Motif”

Well the gift is wrapped now and ready to be given.  Hopefully tomorrow I can post a photo of the collar on Stormy!

Operation Baby Spoon Update

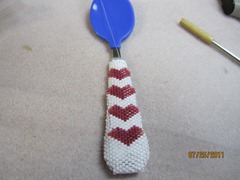
I have also been working on the Baby Spoon project as time allows.  Here is what I have done so far.

008

I like the look of the piece, but before I write up the instructions, I want to try a sample with tablecloth vinyl and a non-water soluble glue.  I’ll keep you posted on my progress.

Blessings,

Beth

Monday, July 25, 2011

Merry Christmas in July


You read that right.  Today is July 25.  That means Christmas in July. 

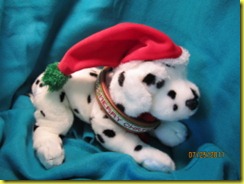
To celebrate, I have just posted a pattern named “Merry Christmas Dog Collar Motif” at Bead Patterns Boutique.

puppy

The pattern is on special for 25% off for the next 24 hours.

view 1

view 2

Merry Christmas in July, everyone!

Blessings,

Beth

Friday, July 15, 2011

Operation: Baby Spoon


Some of you may remember about a week ago, one of the members of the Bead Patterns Boutique Forum Group, Carol, was asking about a gift for a nine-month-old granddaughter.  The group suggested that she try a beaded baby spoon handle.

Well, my muse heard this and was off to the races.  In the midst of my studio reorganization, I started working on some ideas that might work. 

I must say, it has been trial and error.

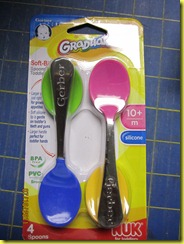
My first step was to go to Walmart and look for baby spoons.  I had three criteria in mind:

1) pick a brand that would be easy for people to get all over the country (i.e. it had to be a big name brand)

2) It had to be age-appropriate for the baby

3) the shape of the handle had to be easy to work with.

006004

These are the two that I decided to bring home.  Both fit the age criteria.  The one on the left is distributed by Walmart, so I thought it would be pretty accessible and the one on the left is by Gerber.  I don’t think you can get much more well known in the baby world than that name.  I like the shape of the handles on the ones on the left the best, but I decided to give both a try.  Also notice, the ones on the left are a set of spoon and fork.  That was a plus in my book.

I sent photos of the spoon that I had chosen to Carol to ask for her input.  She mentioned that she like the ones with the colored bowls the best, so I decided to start with those.

031

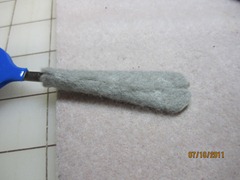
From past experience, I know that it is easier to bead around a smooth object if you first cover it with either leather, ultra suede, felt of another material.  So, I covered the handle with some grey felt.  I am not sure that I would use this method in my final version.  I am not sure how the felt will hold up under washing.  I am thinking that a table cover plastic might be a better choice and a non-water soluble glue would be a good choice.  But this gave me a place to start.

003 

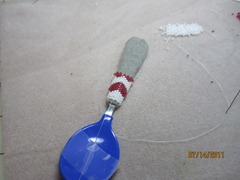
Then I started beading.  I am trying to coordinate with my “Sweet Sentiments Pen Wraps”, so I chose a white background and I am working in Tubular Even Count Peyote. (I have a tutorial available here).

005

These handles are pretty tapered, so they do require an increase from time to time.  But with the heart motif that I have chosen to use, I am able to camouflage it pretty well.

As you can see, I still have a long way to go.  But my muse and I are getting along really well.  We are having a great time exploring the possibilities.  Hopefully, I will have this pattern done within the next week. 

Thanks for bouncing by and sharing my creative process with me.

Blessings,

Beth

Tuesday, July 12, 2011

Fine Tuning and Problem Solving

Most of the major sorting of my studio has been done.  Now it is time to fine tune the organization. 

002

Most of the items in my studio have been grouped and put in to drawers (an in some cases, piles)  Now it is time to sort out the drawers and reorganize them.

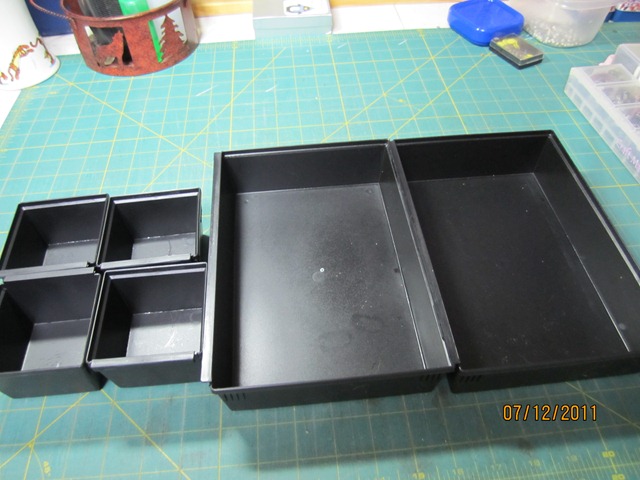
Last night I made a trip to Staples and bought these:

001 

This is two sets of customizable draw organizers.  I did not have a coupon for these, but they were pretty reasonable.  I paid under $25.00 for the whole mess (funny I should choose that word, hugh?)

And this morning, I started to work on some of the drawers.

003

Here is what that first drawer looks like after I started using the organizers.

004

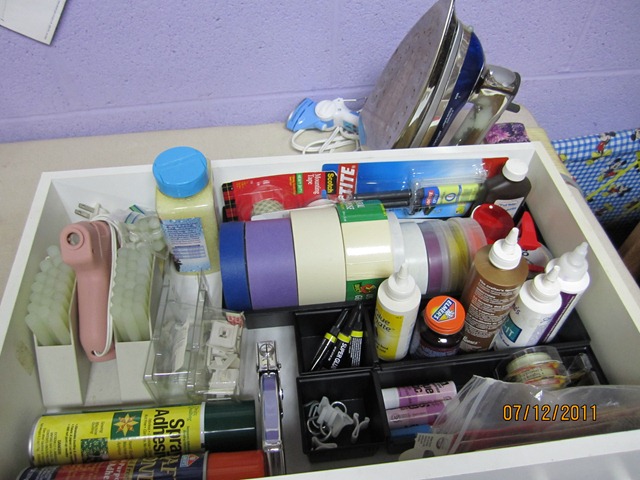
And this is my “Adhesives” drawer before,

005

And this is after!!  Much better!!

006

I still have a few pieces left over. I am sure they will all get used before the project is completed.

Tomorrow is my shopping day away from home.  I plan to check out the shoe organizers and see what I can do with the Stablilizers and maybe even loom storage.

This afternoon, my Muse started taking over and for the first time in a very long time, I cut out some fabric to do some sewing.  It may have to do with the fact that I bought some new pins.

I don’t know how many of you remember, but my Tigger, my golden lab, was famous for eating my pins.  I have been so scared that Tanner will do the same thing.  I have not been able to sew for months.  But, I think I have come up with a  solution. 

008

These are the pins that I have been using for about 5 years now.  They are very fine and very small.  And they have very little heads.  They are pretty easy to drop and even harder to find on my grey carpet.  I always thought I was super careful with them, but Tigger proved me wrong.

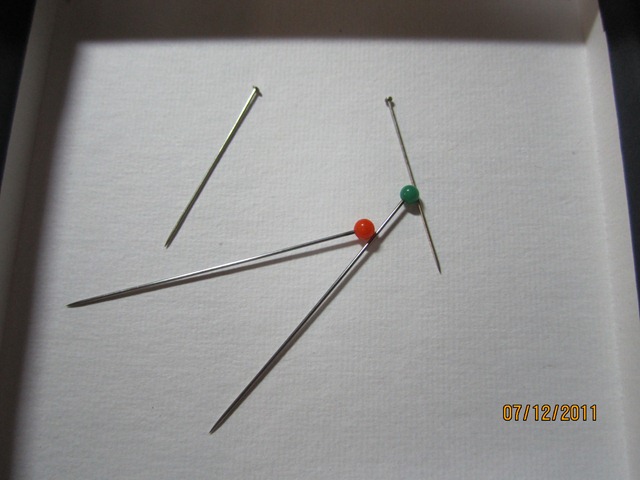
009

These are the pins that I bought yesterday.  They are not as fine (which could be a problem for some fabrics), they are much longer and they have colored heads.  I should be able to keep track of these pins much easier.

010

So, today, I boxed up the old silk pins, taped the box tightly shut, and put it in a storage drawer that houses my pins and needles.  And I started sewing again!!!  I feel so much better.

I have heard from some of you that I am inspiring you to do some sorting and reorganizing too.  I would love to  see photos of your work in progress.  Please leave me a comment with your blog listed and I will bounce by and do the same for you.

Blessings,

Beth

Monday, July 11, 2011

The Adventure Continues

Well, what you saw yesterday was the south side of my room.  Before you get jealous of the space, I must tell you, this was my kids school room up for almost 10 years.  It started out full of desks and bookshelves for homeschooling.  My sewing machine was stuck in a small corner so that I could occasionally sneak in some sewing while they were working on assignments.

As the years have passed, they have needed the room less and less and now they are both in College, so they don’t need it all.  I have been able to expand and use the whole room. 

I am what my family calls a “garbage picker”.  Most of the furniture in the room has come from discount piles, newspaper adds, thrift shops or super coupons at stores.  Even my sewing machines are floor models, so I save there too!! 

I know that I am blessed to have this space and be surrounded by all the memories while I work.  And I also know I should take better care to keep it cleaner.

Well, here is the work that I got done today.

001

This is what the North West corner of the room looked like this morning.  As I said before, I just seem to have a lot of stuff out of place.  Clothes don’t need to be here.  I have a closet space under the stair well.  And, would you believe there is a sewing machine under that pile?  Don’t worry, it is not my embroidery machine.  And it is covered, so it will not get damaged.  It is my daughter’s and this was her sewing space when she had an interest in sewing.  Now, she has an interest in having me sew for her.  So, this is what that space looks like now.

004

The clothes and empty hangers, which I do use, are all in the closet space under the stairwell.  The shoe rack that was hidden behind the clothes is now being used to organize my blank dog collars.  They are all sorted by size and labeled!!  And the unused sewing machine is neatly stored under the table, and my serger is now in it’s place!!!  I now pronounce this a usable space!

002

This is my next target area.  This is my fabric stash (or at least most of it).  As you can see, it is already in drawer units, so it should be pretty easy to go through.  The real issue is the piles on the top!!!  That has to go!!!  I am looking at some options for storing the stabilizers a bit more efficiently.  I am thinking about these:

But the store that sells them is 30 minutes away.  I am heading to that part of the world on Wednesday, and of course, I have a coupon!!  So I will be checking them out.  I’ll let you know how I make out.

Hope you are having a a fantastic day!

Blessings,

Beth

Sunday, July 10, 2011

Freeing my Muse

Here are some shots of the space that I lovingly call “My Studio”. 
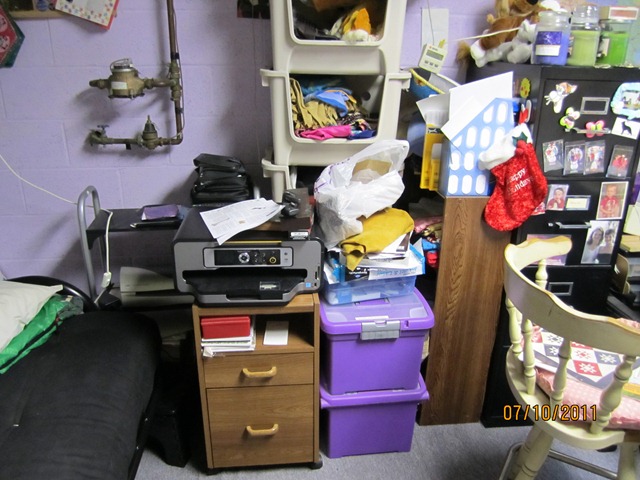
001

This area… well, what can I say.  It is a disaster.  A mixed up mess of things!!!  It includes a 4-drawer metal file cabinet, some a book shelf with fabric, some plastic stacking bins full of regalia supplies, a cart with my photo printer/scanner on the top and who knows what inside, another bookshelf full of…. junk, oh, and a futon!  Yikes!
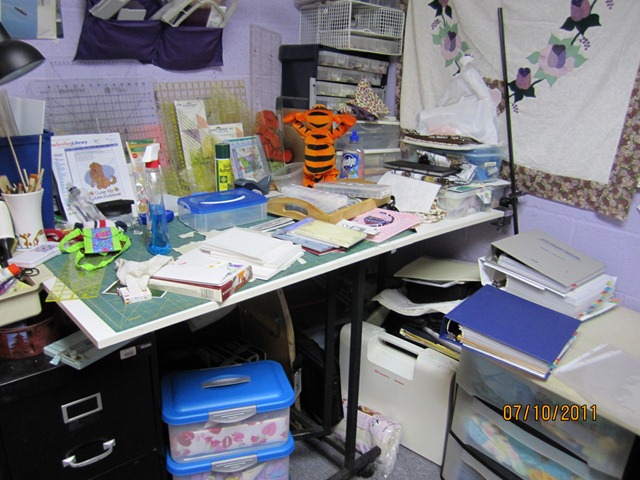
002

And this is the opposite side of the room.  This is one of my three cutting tables.  They are supposed to be used for cutting fabric.  Good luck with that the way things are now!
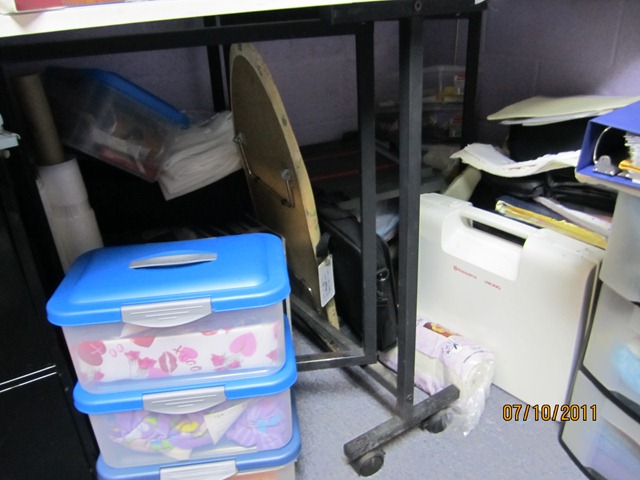
003

Oh, and this is the space under the table.  Yes, I use it for storage, but really??  This is just a cluttered mess.

I am sorry to say, I don’t have a photo of my beading table from before I decided to reorganize.  I just really got inspired and started to fix things up yesterday morning and I didn’t think to take “before” photos of that area.

I found, when I started yesterday morning, that I had so many of the same type of things in different places.  I decided to start with grouping like items together and putting them in the same place.

025

This piece of furniture is affectionately known as “the white dresser”.  I started here.  As you can see, I have put labels on the drawers now.

026

One of the first things that I discovered was that I had glues, tapes, sprays, hooks and magnets in so many places all over the room!!  It is no wonder I could not find the tape that I needed or the hook.
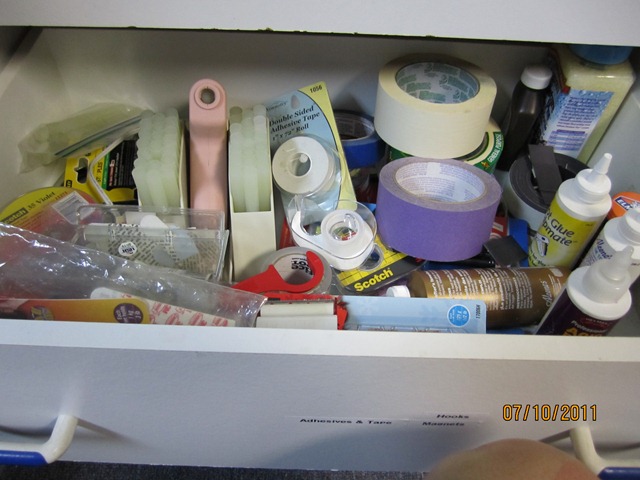
027

But now, I can.  They are all in this drawer.  Glue gun, masking tapes, glues, packing tapes….. easy to find!
028

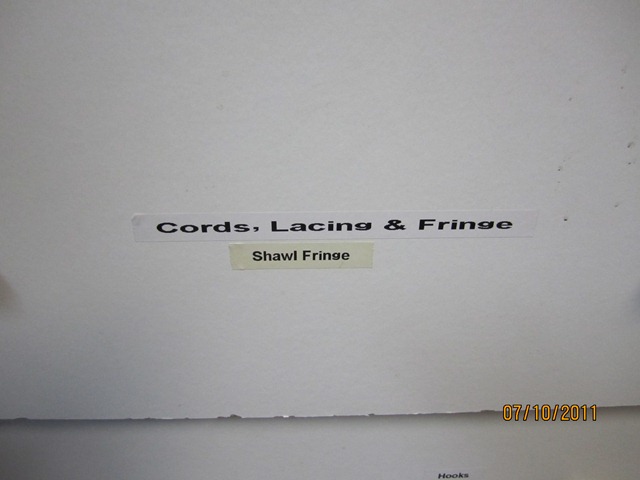
Here’s another label that eliminated three of my storage boxes. 
029

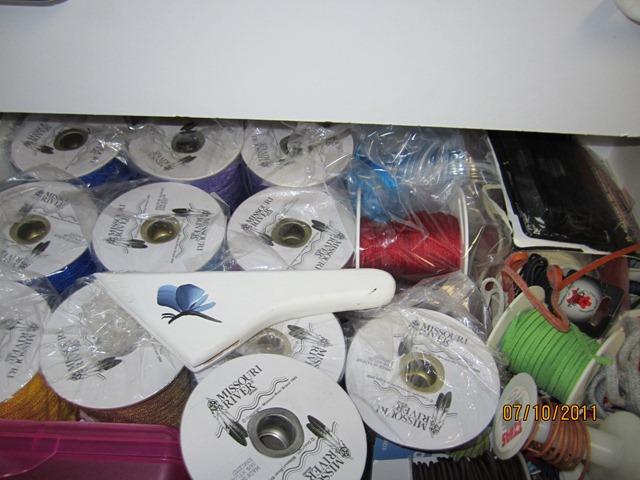
All of my shawl fringe, leather lacing, greek thong, and kumihimo cords are safely stored together now (along with a fan handle that I painted and did not really know where else to store it)

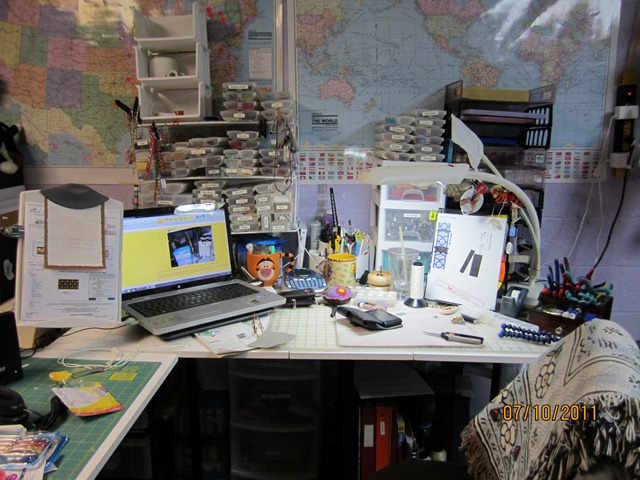
Well, this is what my beading table looks like Now!
019

I know it is probably hard for you to tell, but I do have a lot more space.  The carousel in the center used to sit in the middle of my work space.  Now, thanks to some reorganizing, it sits back by the wall out of the way.
020

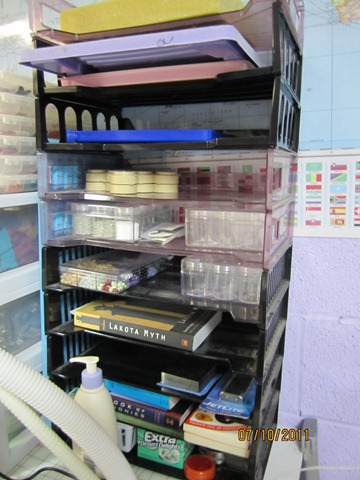
And my letter sorter trays, now actually are sorting things I need!!   Not just miscellaneous scraps of paper.
010

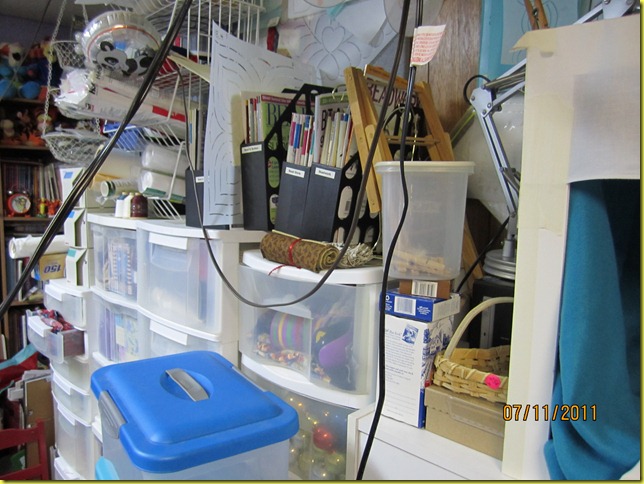
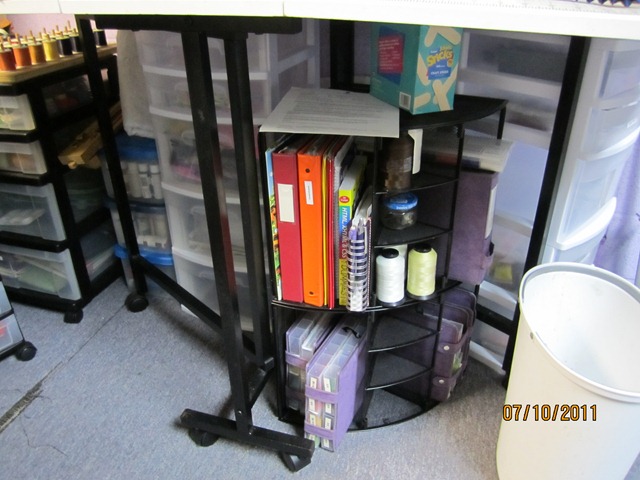
I changed some of the storage under this table too!!  I discovered that I am not the type of person who works well with stacked storage boxes.  Even if I can see what is in them, I am not very likely to move the stack to get the items in the bottom boxes.  And I am less likely to put things away.  I need drawers and shelves.  I was lucky enough to find the metal corner units at a yard sale and I got the drawer units at a really great price.  I used my label maker to label each drawer.
007

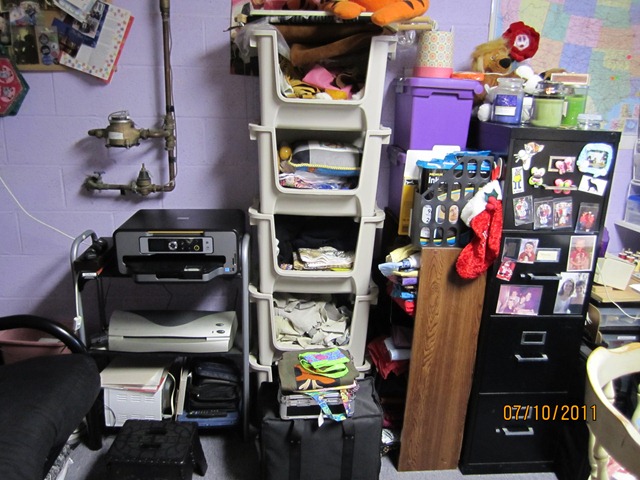
After several hours of cleaning this morning, this is what the front corner of the room looks like now.  I know there is still a lot of stuff.  But now, I can get to everything.  Nothing is piled in front of anything else.  Oh, and the wooden cart is gone!!!  The reorganization left room for the printer on the black bookshelf.
012

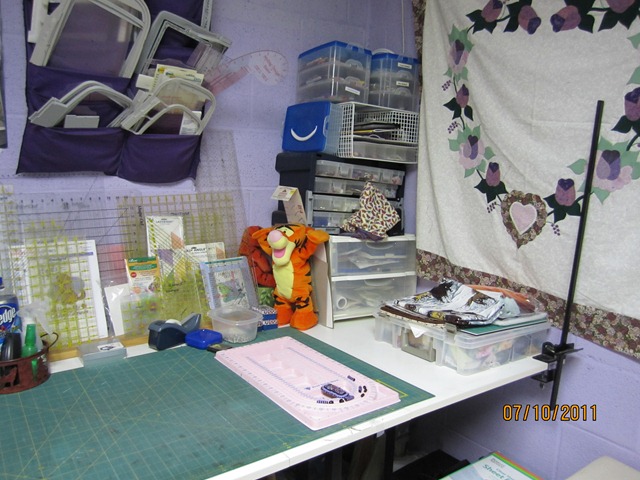
And here is my cutting table!!!  Yes, I think I could actually cut some fabric today!!!  But, I think I will finish the beaded necklace that is laying on the board right now.

011

And now, the storage space under the table actually looks like more organized!!! I am so very happy!!
022

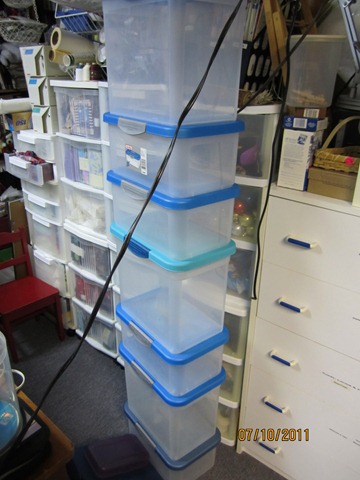
This is the stack of storage boxes (the ones with the blue lids) that I reorganized into the drawer units!  I will probably repurpose these in the garage for some of the seasonal baking stuff that Meg and I have.
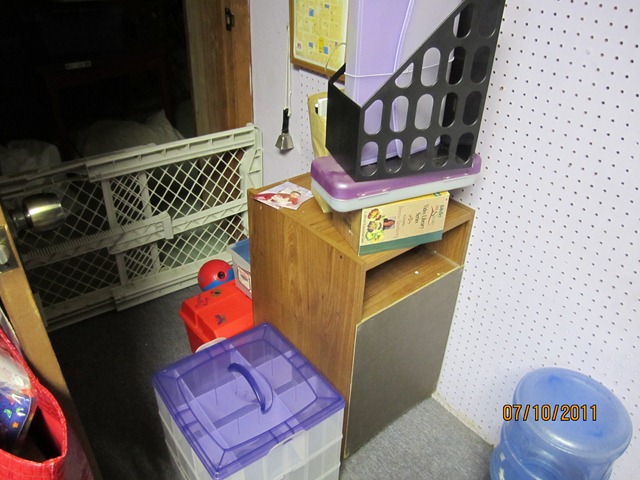
023

This small collection of items along with a medium sized box and a rack of paint are going to a friend who is also very creative and can make better use of them than I can right now!
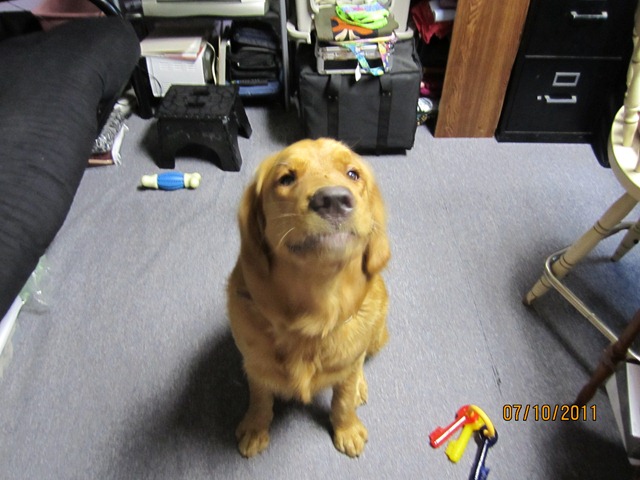
008

Tanner is happier too!  He has more room to play!!!

Blessings,

Beth & Tanner

Total Pageviews